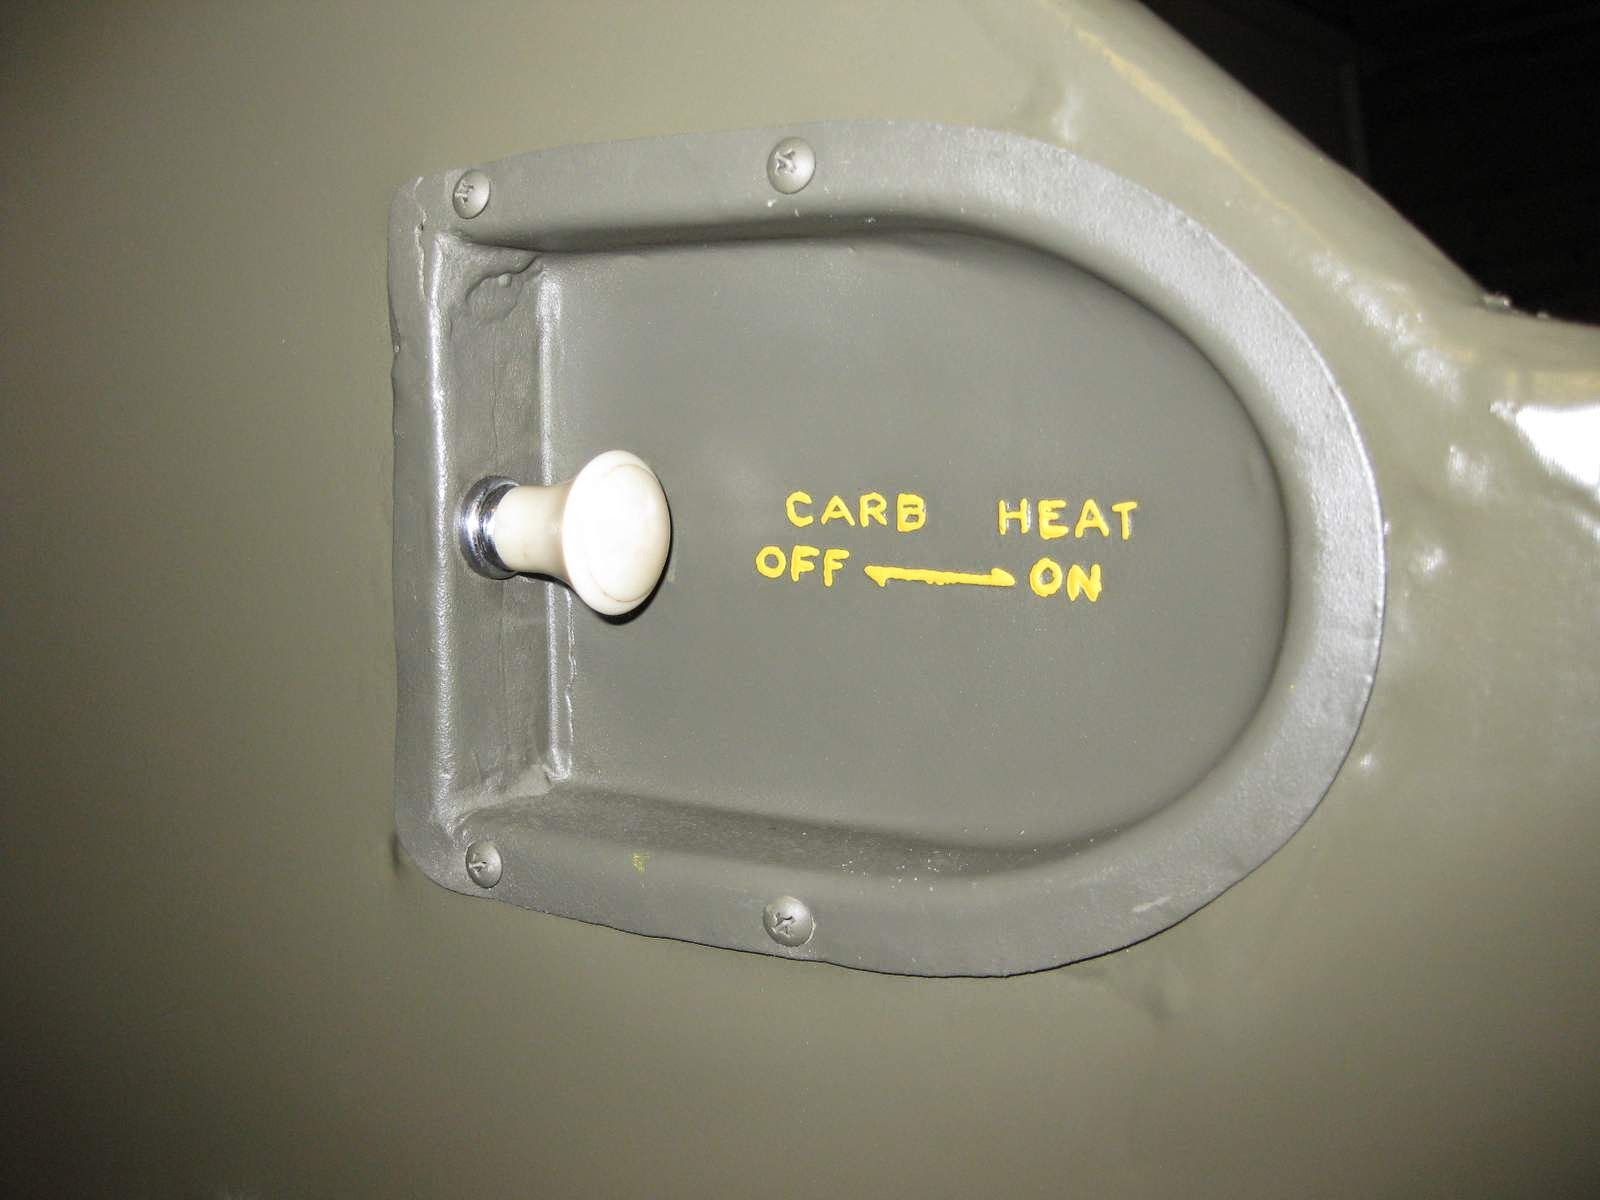
Floor protection plates are in after giving them a good rub. Carb.heat, throttle levers and tonight also fuel controls are put in place. Starting to look like an airplane (at least on the inside!).
Battery has been purchased. A GEL based battery suitable for motorcycle and snow scooter (!), which can be mounted even at 90 deg. The gel makes it less likely to leak. It's a 12 V, 9 Ah battery. It will be placed just behind the front seat to the right of the stick. Covered by the special AAF battery box and I do have the original connector (got it on Ebay). However, I prefer to wire the battery using new AWG-16 wires which has been laid under the floor. The original connector will be there, but only as a dummy.
Next up: fix the trim indicator issue, prime and paint new 3 mm steel rods that go between breake pedals rear and front. Then a very exciting project: A colleague of mine has set out to help me mount a soft ski bag, hidden in the rear fuselage. This must be carefully done so the bag and contents will not in any way reach any control wires. Pictures coming soon!

Need to adjust the tension (I think) to get the trim indicator to move all the way.
Old cups, beaten and repaired - probably the original ones.

Some fresh red spray paint did well on the fuel controls. Do I have to write "MIXTURE" on the lower one ??? It's experimental anyway, so I might get around that.

The battery position. Still need to build the AAF box around it and I need to decide how to mount the battery properly. It should also be easy to remove for charging, if I don't include a charger in the box.
No comments:
Post a Comment